6.25.2011

PLAID DAY!

My initial plan was to post three roundups but the fine folks at 30DaysofCreativity.com were kind enough to include me on a super sweet deal, so this post is special. I was sent a package of "tools" to aid in my creation for June 23rd: Plaid Day. Today is the 25th so I'm obviously a bit behind, but I did live-tweet my progress. Don't believe me? Go check! Anyway, after a little fighting with UPS, I finally received my package and I could not believe how generous the people at Scotch Brand were for sending out these awesome supply kits. I mean, just look at all this stuff:

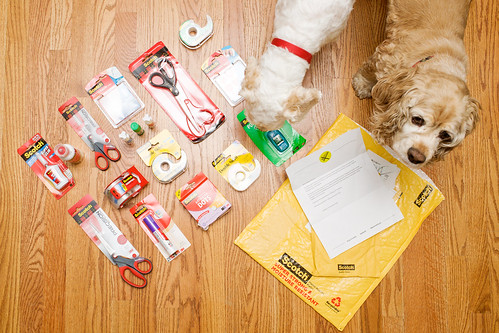
Enough scissors and adhesives to last a lifetime

I have to admit, I was a bit stumped because I haven't worked on any paper specific projects in a long, long time. But then it dawned on me: the entire online sewing community has been ALL OVER Colette's new free pattern, the Sorbetto Tank Top. It was obviously the perfect fit!

Day 23: Sorbetto-betto
I had high hopes of finishing this project in one day, and I almost did too.


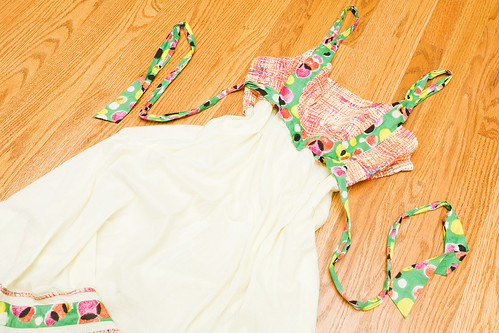
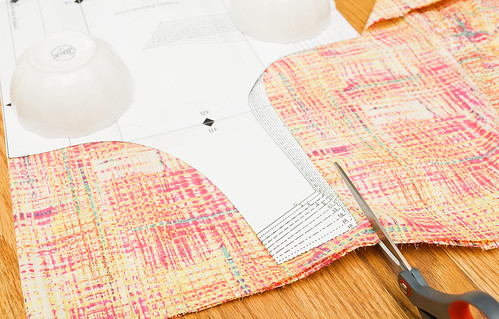
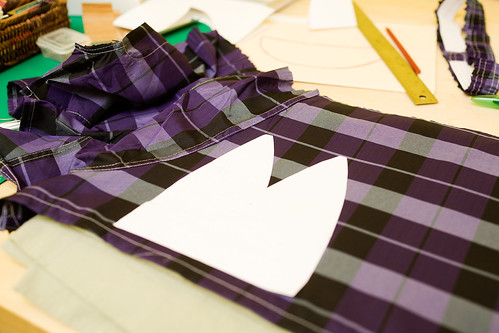
Being frugal, I went thrifting for fabric. My local Salvation Army doesn't have much in the form of actual yardage, so I found a cute dress that was just one size too small for me and used the skirt portion for my top. Does that make this a refashion?


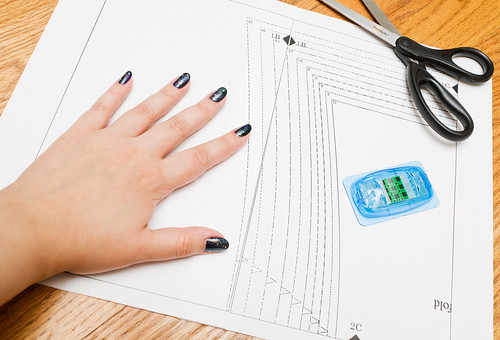
The pop-up tape helped speed up the process of piecing together the pattern, which is something I totally dread whenever the inevitable happens and I fall in love with online-only patterns. I used their heavy duty packaging tape to seal all of my page ends before cutting out the pattern pieces with their precision scissors. Total breeze.


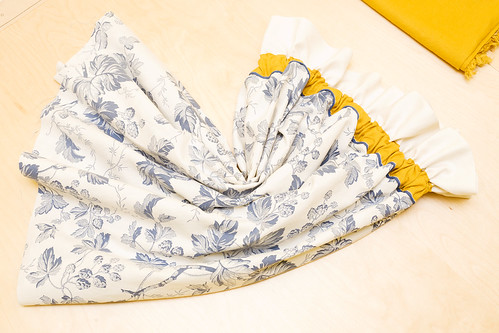
If I had made enough bias tape, I would have finished her in time, but I don't do so well with proper project planning it seems... In fact, I didn't even start on my bias tape until it was time to attach it. Whoops?


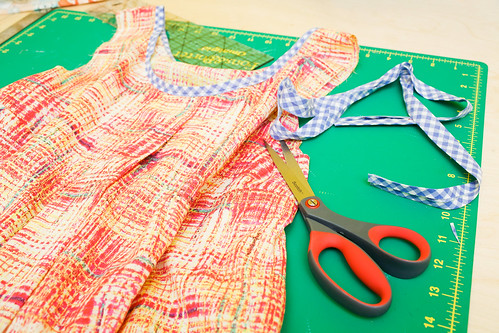
Day 24: Sorbetto Baby + Bias Tape Party!
I started making more bias tape the moment I woke up! I even got carried away and cut into some of my fat quarters.


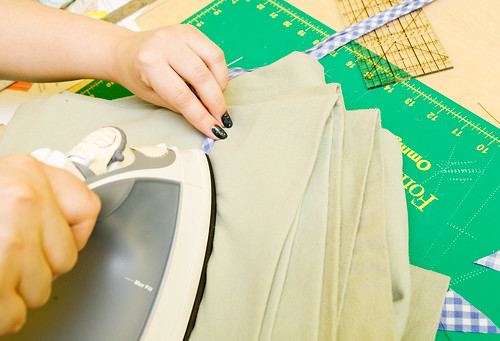
Check out my sweet "ironing board"


You'll notice she looks a lot like Oona's version! Don't tell her, but I totally bit off her mod and left the bottom pleat out. I plan on making more of these because they are super easy and very, very awesome. My next one may include the full pleat, or maybe it won't include any at all? We'll see!

6.22.2011

Roundup #2

Just a few small projects make up my second roundup. I made Andrew not one, not two, BUT THREE cycling caps! It would be impressive if I hadn't taken so long to finish them... Our weekends are usually hectic once the weather gets nice around here, so that's my excuse (the weather hasn't even been nice).

Day 10: Practice Hat
The first hat was sewn from some scrap fabric I had so I could make a better fitted one than the previous one I made him.


Day 11: Prep for the Real Hats
I went out on a limb here and chose some really sheer, breathable fabric from... BOXER SHORTS! I figured "why not?" and immediately learned my lesson.


Day 14: Late Night Sewing
I grabbed a beer and finally buckled down to sew the damned thing!


Day 15: Finished Cap
So, I learned a few things: Some fabrics are an absolute nightmare to sew, such as super cheap polyester blends that run like crazy. Also, matching plaid prints? Pffft, whatever! These'll be worn under his helmet so everything will be alright, alright?!


Day 16: Bracelets!
@CreateStuff tweeted "Can you get excited about triangles, glasses, flannel, and obscure music? Today's theme is hipsters!!" So naturally I made a bracelet featuring triangles. I think the bracelet could sense its own irony and forced itself to pop.


Day 17: Beginnings of a Paper Bag Skirt
I even practiced some new seam finishes thanks to Gertie!


Day 18: FAIL
It seems Very Purple Person's easy full skirt and I just weren't cut out for one another. It looked so silly on I didn't even take a proper photo (or hem the bottom). Plus my cheap-o elastic popped as soon as I sewed my casing shut. Whatever.


Day 20: Final Cycling Cap
Another plaid, another nightmare.


I almost forgot to mention all of the hats were sewn using a slightly modified version of this free pattern with thin plastic from a folder for the bills.

I decided to dedicate any down time I may have to crocheting my skirt, so that's how I spent day 12 and day 13. I had hoped to finish in time and include the skirt in my final roundup but don't hold your breath... Day 19 is a separate blog post in and of itself, but I'm not the mood to get all ~emotional~ about Father's Day right now. Today's the 22nd and all I've done is this lousy blog post! I still have some time left before midnight gets here + I'll include yesterday in my final roundup since it's still a work in progress :)

6.09.2011

Roundup #1

You may have noticed the little badge at the top right of my blog. It's for 30 Days of Creativity, which describes itself as "a social initiative encouraging people to create stuff (anything) every day for 30 days in June." Simple enough, right? Since I have a laundry list of projects, I figured this would push me to be a little more productive than usual. I decided to break my projects down into smaller parts and instead of blogging daily, I've tweeted my progress and uploaded photos to their flickr group.

My first project was tackling one of the many necklaces on my "to re-create" list:

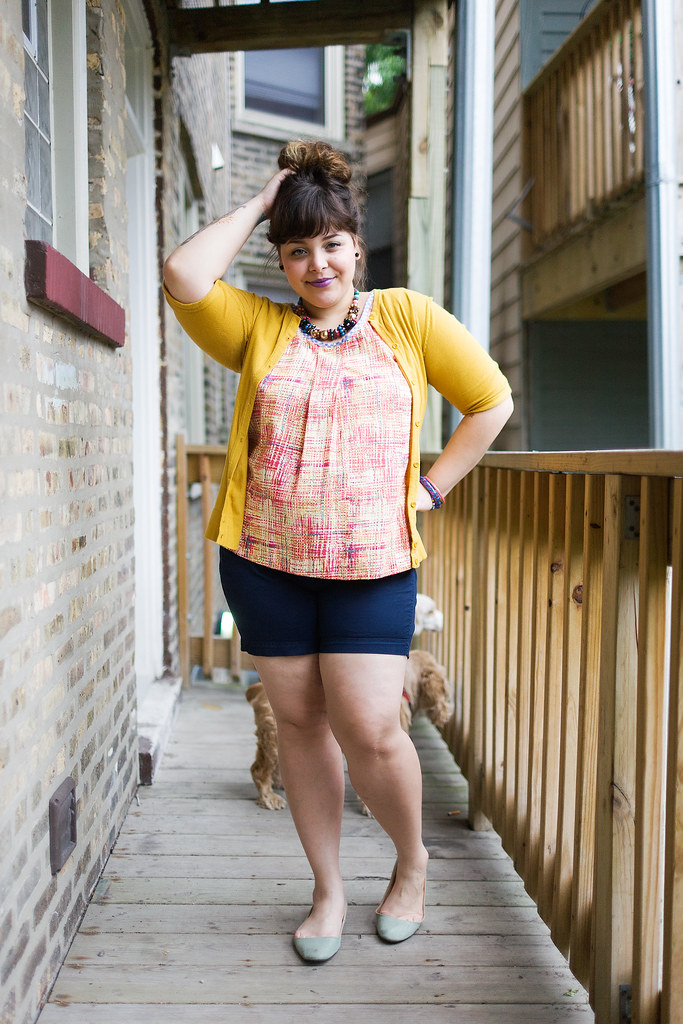
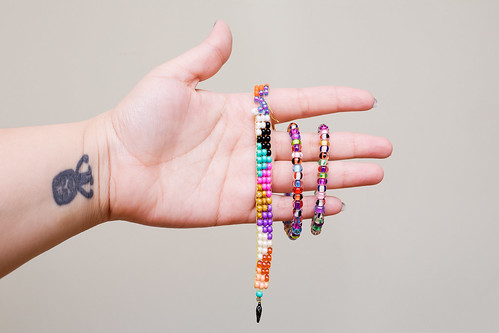
Toast's Abyale Necklace £29


Day 1: Pom Poms
I made these adorable babies using this tutorial from Bella Dia.


Day 2: Wooden (cardboard) Bead Loom
Instructions on how to make your own below!


Day 3: Practicing Simple Patterns
There are countless patterns online, but it's fun to make up your own, too!


Day 4: Beaded Medallion
I actually made this using an off loom beading technique because I found weaving in the ends to be really bulky and messy with the piece I made using my loom. Oh well!


Day 9: Completed Necklace
After what felt like 30 years, I finally settled on a color scheme I liked and finished!


In middle school, my best friend and I were constantly beading with craft looms. I haven't had a loom since then, but I thought it would be simple enough to make my own (plus it seemed like the perfect solution for making the centerpiece). There are tons of plans available online for building your own using wood and dowels but I'm on a tight budget so I chose to improvise! Here's how I made mine:

Materials
Cardboard Box
Scraps of Thick Paper (I used paper packaging for handle bar tape)
Packing Tape
Scissors
Contact Paper (optional)


Step 1: Cut your scrap paper about an inch smaller than the length of one flap's side. Fold it in half and cut small slits about 1cm apart along the folded edge.

Step 2: Cut one flap at the fold leaving 1/2" on either side and slide the scrap paper through the slit.

Step 3: Tape down the flaps and you're done! I chose to wrap mine with woodgrain contact paper because it looked nicer that way, but that's totally optional!


You may have noticed I skipped over a few days but I promise I was still ~creative~. I didn't have much in me besides making pizza from scratch on day 5. On day 6 I made a big mess assembling all of my pieces then deciding to start over because I'm really fickle. Day 7 called for the tutorial illustrations above, and I REALLY thought I would have been done with it yesterday but I changed my mind again!! So, day 8 was wasted, too, BUT I FINALLY FINISHED! Now I need to figure out what to do with all these extra medallions I've made...